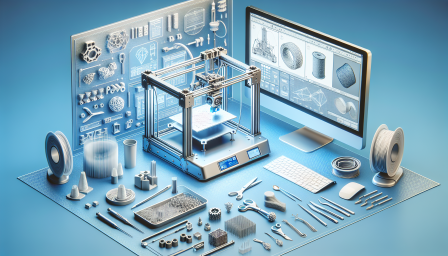
Creating Stunning Lithophanes with 3D Printing
July 27, 2024 3D Printing
Lithophanes are a unique form of art that combines photography and 3D printing to create stunning three-dimensional images that come to life when backlit. This fascinating technique allows you to turn your favorite photos into beautiful, tactile pieces of art that can be displayed in various settings. In this guide, we will walk you through the process of creating your own lithophanes using a 3D printer, providing tips and tricks to ensure the best results.
### What is a Lithophane?
Lithophanes are thin, translucent 3D-printed objects that reveal an image when illuminated from behind. The depth of the engraving determines how light passes through, creating a stunning visual effect. Traditionally made from porcelain, lithophanes have now found a new life in the world of 3D printing, making them accessible to hobbyists and artists alike.
### Getting Started
To create your own lithophane, you will need a few essential tools and materials:
1. 3D Printer: Any FDM (Fused Deposition Modeling) printer will work, but ensure it has a good resolution for detailed prints.
2. Filament: Use a translucent filament, such as PLA, to achieve the best results. White or light-colored filaments work best for capturing details.
3. 3D Modeling Software: Software like Blender or Tinkercad can be used to create or modify your lithophane design.
4. Lithophane Generator: Online tools like 'Lithophane Maker' can convert your images into 3D models suitable for printing.
### Steps to Create Your Lithophane
1. Choose Your Image: Select a high-contrast image that you want to convert into a lithophane. Portraits, landscapes, and meaningful moments work well.
2. Convert the Image: Use a lithophane generator to convert your image into a 3D model. Adjust the settings to control the thickness and detail of the lithophane.
3. Prepare the 3D Model: Import the generated model into your 3D printing software (like Cura or PrusaSlicer). Adjust the print settings, ensuring a high resolution for detailed prints.
4. Print Your Lithophane: Start the printing process. Monitor the print to ensure everything is going smoothly. Depending on the size and complexity, this could take several hours.
5. Post-Processing: Once printed, carefully remove the lithophane from the print bed. You may want to sand the edges for a smoother finish.
6. Backlighting: To showcase your lithophane, place it in front of a light source. LED lights work particularly well, providing a soft glow that enhances the image.
### Tips for Success
- Experiment with different images and settings to find what works best for you.
- Consider printing multiple lithophanes to create a stunning display.
- Share your creations on social media to inspire others!
Creating lithophanes is not only a fun project but also a great way to preserve memories in a unique format. With just a few materials and some creativity, you can turn your favorite photos into beautiful works of art that will be cherished for years to come.

Affordable Multicolor 3D Printing Revolution
January 8, 2025 3D Printing
Discover Creality's new multicolor 3D printer under $500! Perfect for makers and innovators. #3DPrinting #Creality #Innovation
3D Print Your Own Gaming Mouse Today
January 7, 2025 3D Printing
Unleash your creativity with HyperX's new initiative to 3D print your own gaming mouse! #3DPrinting #Gaming #HyperX
Revolutionizing Recycling with 3D Printing Technology
December 30, 2024 3D Printing
Discover how PETFusion 2.0 transforms plastic waste into 3D printing filament! #3DPrinting #Recycling #Innovation
Revolutionizing 3D Printing with Lemontron
December 27, 2024 3D Printing
Discover the Lemontron, a portable 3D printer that fits in a filament box! #3DPrinting #Innovation #OpenSource
Top Black Friday Deals on 3D Printers
November 29, 2024 3D Printing
Don't miss out on amazing Black Friday deals for 3D printers! #3DPrinting #BlackFriday #TechDeals
Neptune 4 Pro 3D Printer Price Drop
November 29, 2024 3D Printing
Grab the Elegoo Neptune 4 Pro at its lowest price ever! Don't miss out! #3DPrinting #Elegoo #TechDeals

Best Budget 3D Printer Deals for Black Friday
November 28, 2024 3D Printing
Discover amazing Black Friday deals on budget 3D printers! Don't miss out! #3DPrinting #BlackFriday #Deals
Prusa Launches Core One: A 3D Printing Revolution
November 19, 2024 3D Printing
Discover the latest in 3D printing with Prusa's Core One! #3DPrinting #Prusa #Innovation
Pizza Hut's PS5 Pizza Warmer Innovation
November 11, 2024 3D Printing
Check out how Pizza Hut uses PS5 heat for pizza warmers! #PizzaHut #PS5 #3DPrinting #Innovation #Gaming
Transforming Mac Mini with 3D Printing
November 7, 2024 3D Printing
Check out this adorable 3D-printed Mac Mini enclosure! #3DPrinting #MacMini #TechDesign
Discover the Elegoo Neptune 4 Pro 3D Printer
November 6, 2024 3D Printing
Get your hands on the Elegoo Neptune 4 Pro for just over $200! #3DPrinting #Elegoo #TechDeals
Innovative 3D Printer Uses Hot Glue Gun
November 2, 2024 3D Printing
Discover how a DIY enthusiast transformed a glue gun into a 3D printer! #3DPrinting #Innovation #DIY
Exploring the Formlabs Form 4: A Game Changer
October 24, 2024 3D Printing
Discover the revolutionary features of the Formlabs Form 4 3D printer! #3DPrinting #Formlabs #Innovation
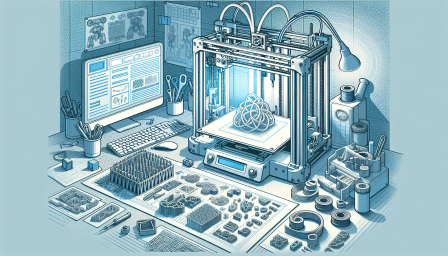
Advancements in 3D Printed Electronics
October 21, 2024 3D Printing
Discover how MIT is revolutionizing electronics with 3D printing and semiconductor-free logic gates! #3DPrinting #Electronics #Innovation
Challenges in 3D NAND Production Amid Price Drops
October 10, 2024 3D Printing
The semiconductor industry faces tough decisions as 3D NAND prices fall. What does this mean for storage solutions? #3DNAND #SSDs #TechNews
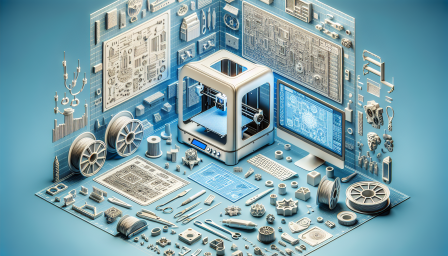
The Intricate Process of 3D Printing Filament
October 5, 2024 3D Printing
Discover how 3D printing filament is made and its impact on the industry! #3DPrinting #Filament #Manufacturing
Bambu Lab Lawsuit Update: What's Next?
October 5, 2024 3D Printing
Stay updated on the latest in the Bambu Lab lawsuit. What does it mean for 3D printing? #3DPrinting #BambuLab #TechNews
Mecpow X4 Pro: A 3D Printing Revolution
September 29, 2024 3D Printing
Discover the Mecpow X4 Pro, a game-changer in 3D printing technology! #3DPrinting #Mecpow #Innovation
Elegoo Mars 5 Ultra: A 3D Printing Revolution
September 28, 2024 3D Printing
Discover the Elegoo Mars 5 Ultra, the future of 3D printing! #3DPrinting #Elegoo #TechInnovation
World's First 3D Printed Hotel in Texas
September 26, 2024 3D Printing
Discover the world's first 3D printed hotel in Texas! A revolutionary step in sustainable architecture. #3DPrinting #Innovation #SustainableDesign
Categories
Elegoo Orange Storm Giga: A Comprehensive Review
September 25, 2024 3D Printing
Discover the Elegoo Orange Storm Giga's impressive features and performance in our latest review! #3DPrinting #Elegoo #TechReview
3D Printed Piggy Banks Inspired by GPUs
September 21, 2024 3D Printing
Discover how 3D printing brings NVIDIA's GPU designs to life as unique piggy banks! #3DPrinting #NVIDIA #TechInnovation
China's 3D NAND Leader Shifts to Local Tools
September 19, 2024 3D Printing
Discover how YMTC is revolutionizing chipmaking in China with homegrown tools! #3DNAND #Chipmaking #Innovation
3D Printing Metal Parts in Space
September 15, 2024 3D Printing
Discover how 3D printing is revolutionizing space missions by creating metal parts in orbit! #3DPrinting #SpaceTech #Innovation
Tiny 3D-Printed Apple IIe with Microcontroller
September 13, 2024 3D Printing
Discover how a $2 microcontroller powers a tiny 3D-printed Apple IIe! #3DPrinting #RaspberryPi #RetroTech

3D Printing a Giant Benchy Sailboat
September 5, 2024 3D Printing
Check out this amazing 3D printed Benchy sailboat in action! #3DPrinting #Innovation #Sailboat

Exploring the Creality Ender 3 V3 Printer
August 24, 2024 3D Printing
Discover the capabilities of the Creality Ender 3 V3 3D printer! #3DPrinting #Creality #TechReview

Repairing STL Files with MeshLab Guide
August 18, 2024 3D Printing
Learn how to repair STL files using MeshLab for flawless 3D printing! #3DPrinting #MeshLab #STLRepair

Bambu Lab's Legal Troubles in 3D Printing
August 11, 2024 3D Printing
Bambu Lab faces lawsuits that could impact hobbyist 3D printing. Stay informed! #3DPrinting #BambuLab #Innovation

Stock Up on Affordable Black TPU Filament
August 1, 2024 3D Printing
Don't miss out on this amazing deal for black TPU filament! #3DPrinting #FilamentDeals #TechSavings

Revolutionizing Electronics with 3D Printing
July 31, 2024 3D Printing
Discover how 3D printing is transforming circuit fabrication! #3DPrinting #Electronics #Innovation
More Posts
-
 Elegoo Orange Storm Giga: A Comprehensive Review
September 25, 2024 3D Printing -
 3D Printed Piggy Banks Inspired by GPUs
September 21, 2024 3D Printing -
 China's 3D NAND Leader Shifts to Local Tools
September 19, 2024 3D Printing